
Okay let’s take the first step creating the Django project, before that create a virtual environment first
python3 -m venv venv
Install Django
to Install Django, prefer to docs Django can Install with pip and don’t forget to upgrade pip version
pip install django --upgrade pip django --no-cache-dir
Creating Django Project using django-admin
After Install the django we can use django-admin to create project boilerplate for example we create a core app to start using django
django-admin startproject core
and rename core directory to backend
mv core/ backend
and this is the initial structure of the project that we generated using django admin
.
├── core
│   ├── __init__.py
│   ├── asgi.py
│   ├── settings.py
│   ├── urls.py
│   └── wsgi.py
└── manage.py
How to Run Django Project
we can use manage.py file to run django project
python manage.py runserver
and you will watching this
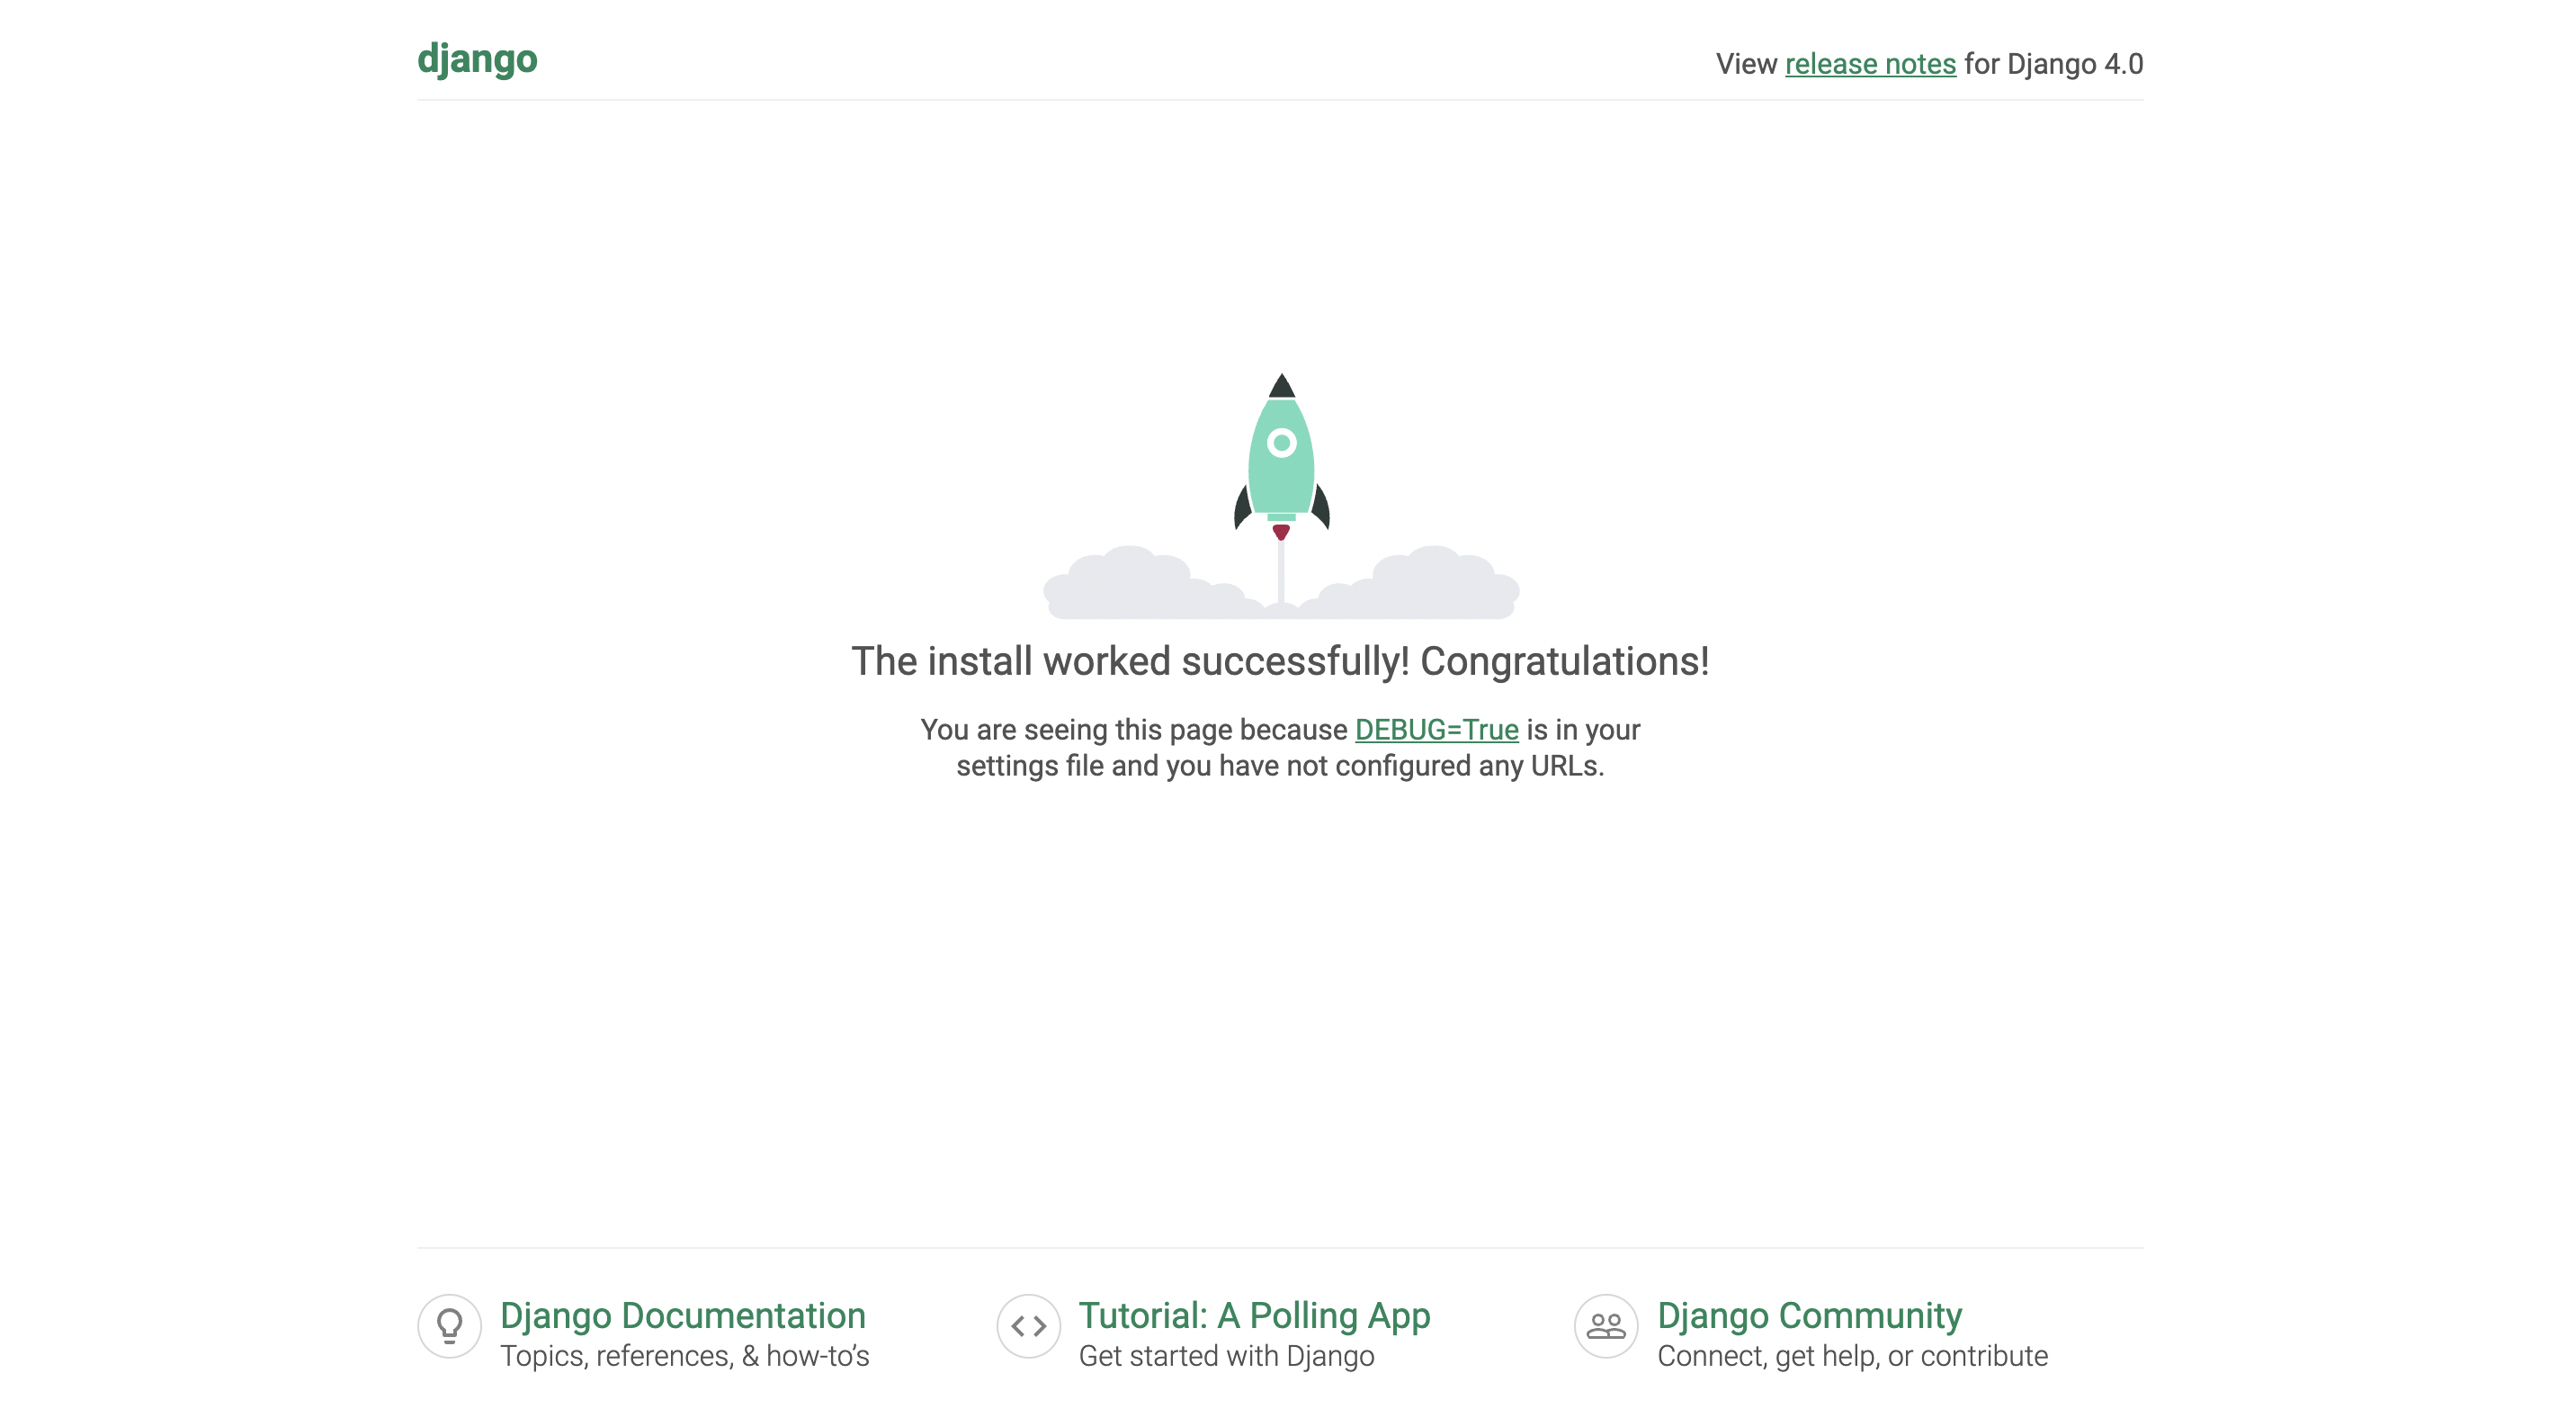
Django Migrations
Watching for file changes with StatReloader
Performing system checks...

System check identified no issues (0 silenced).

You have 18 unapplied migration(s). Your project may not work properly until you apply the migrations for app(s): admin, auth, contenttypes, sessions.
Run 'python manage.py migrate' to apply them.
January 02, 2022 - 18:22:34
Django version 4.0, using settings 'core.settings'
Starting development server at http://127.0.0.1:8000/
Quit the server with CONTROL-C.
[02/Jan/2022 18:22:45] "GET / HTTP/1.1" 200 10697
Not Found: /favicon.ico
[02/Jan/2022 18:22:45] "GET /favicon.ico HTTP/1.1" 404 2108
in this warning
Watching for file changes with StatReloader
Performing system checks...

System check identified no issues (0 silenced).

You have 18 unapplied migration(s). Your project may not work properly until you apply the migrations for app(s): admin, auth, contenttypes, sessions.
you need to migrate and applied to database
to migrate use
python manage.py migrate
and you will see applying process like
Operations to perform:
  Apply all migrations: admin, auth, contenttypes, sessions
Running migrations:
  Applying contenttypes.0001_initial... OK
  Applying auth.0001_initial... OK
  Applying admin.0001_initial... OK
  Applying admin.0002_logentry_remove_auto_add... OK
  Applying admin.0003_logentry_add_action_flag_choices... OK
  Applying contenttypes.0002_remove_content_type_name... OK
  Applying auth.0002_alter_permission_name_max_length... OK
  Applying auth.0003_alter_user_email_max_length... OK
  Applying auth.0004_alter_user_username_opts... OK
  Applying auth.0005_alter_user_last_login_null... OK
  Applying auth.0006_require_contenttypes_0002... OK
  Applying auth.0007_alter_validators_add_error_messages... OK
  Applying auth.0008_alter_user_username_max_length... OK
  Applying auth.0009_alter_user_last_name_max_length... OK
  Applying auth.0010_alter_group_name_max_length... OK
  Applying auth.0011_update_proxy_permissions... OK
  Applying auth.0012_alter_user_first_name_max_length... OK
  Applying sessions.0001_initial... OK
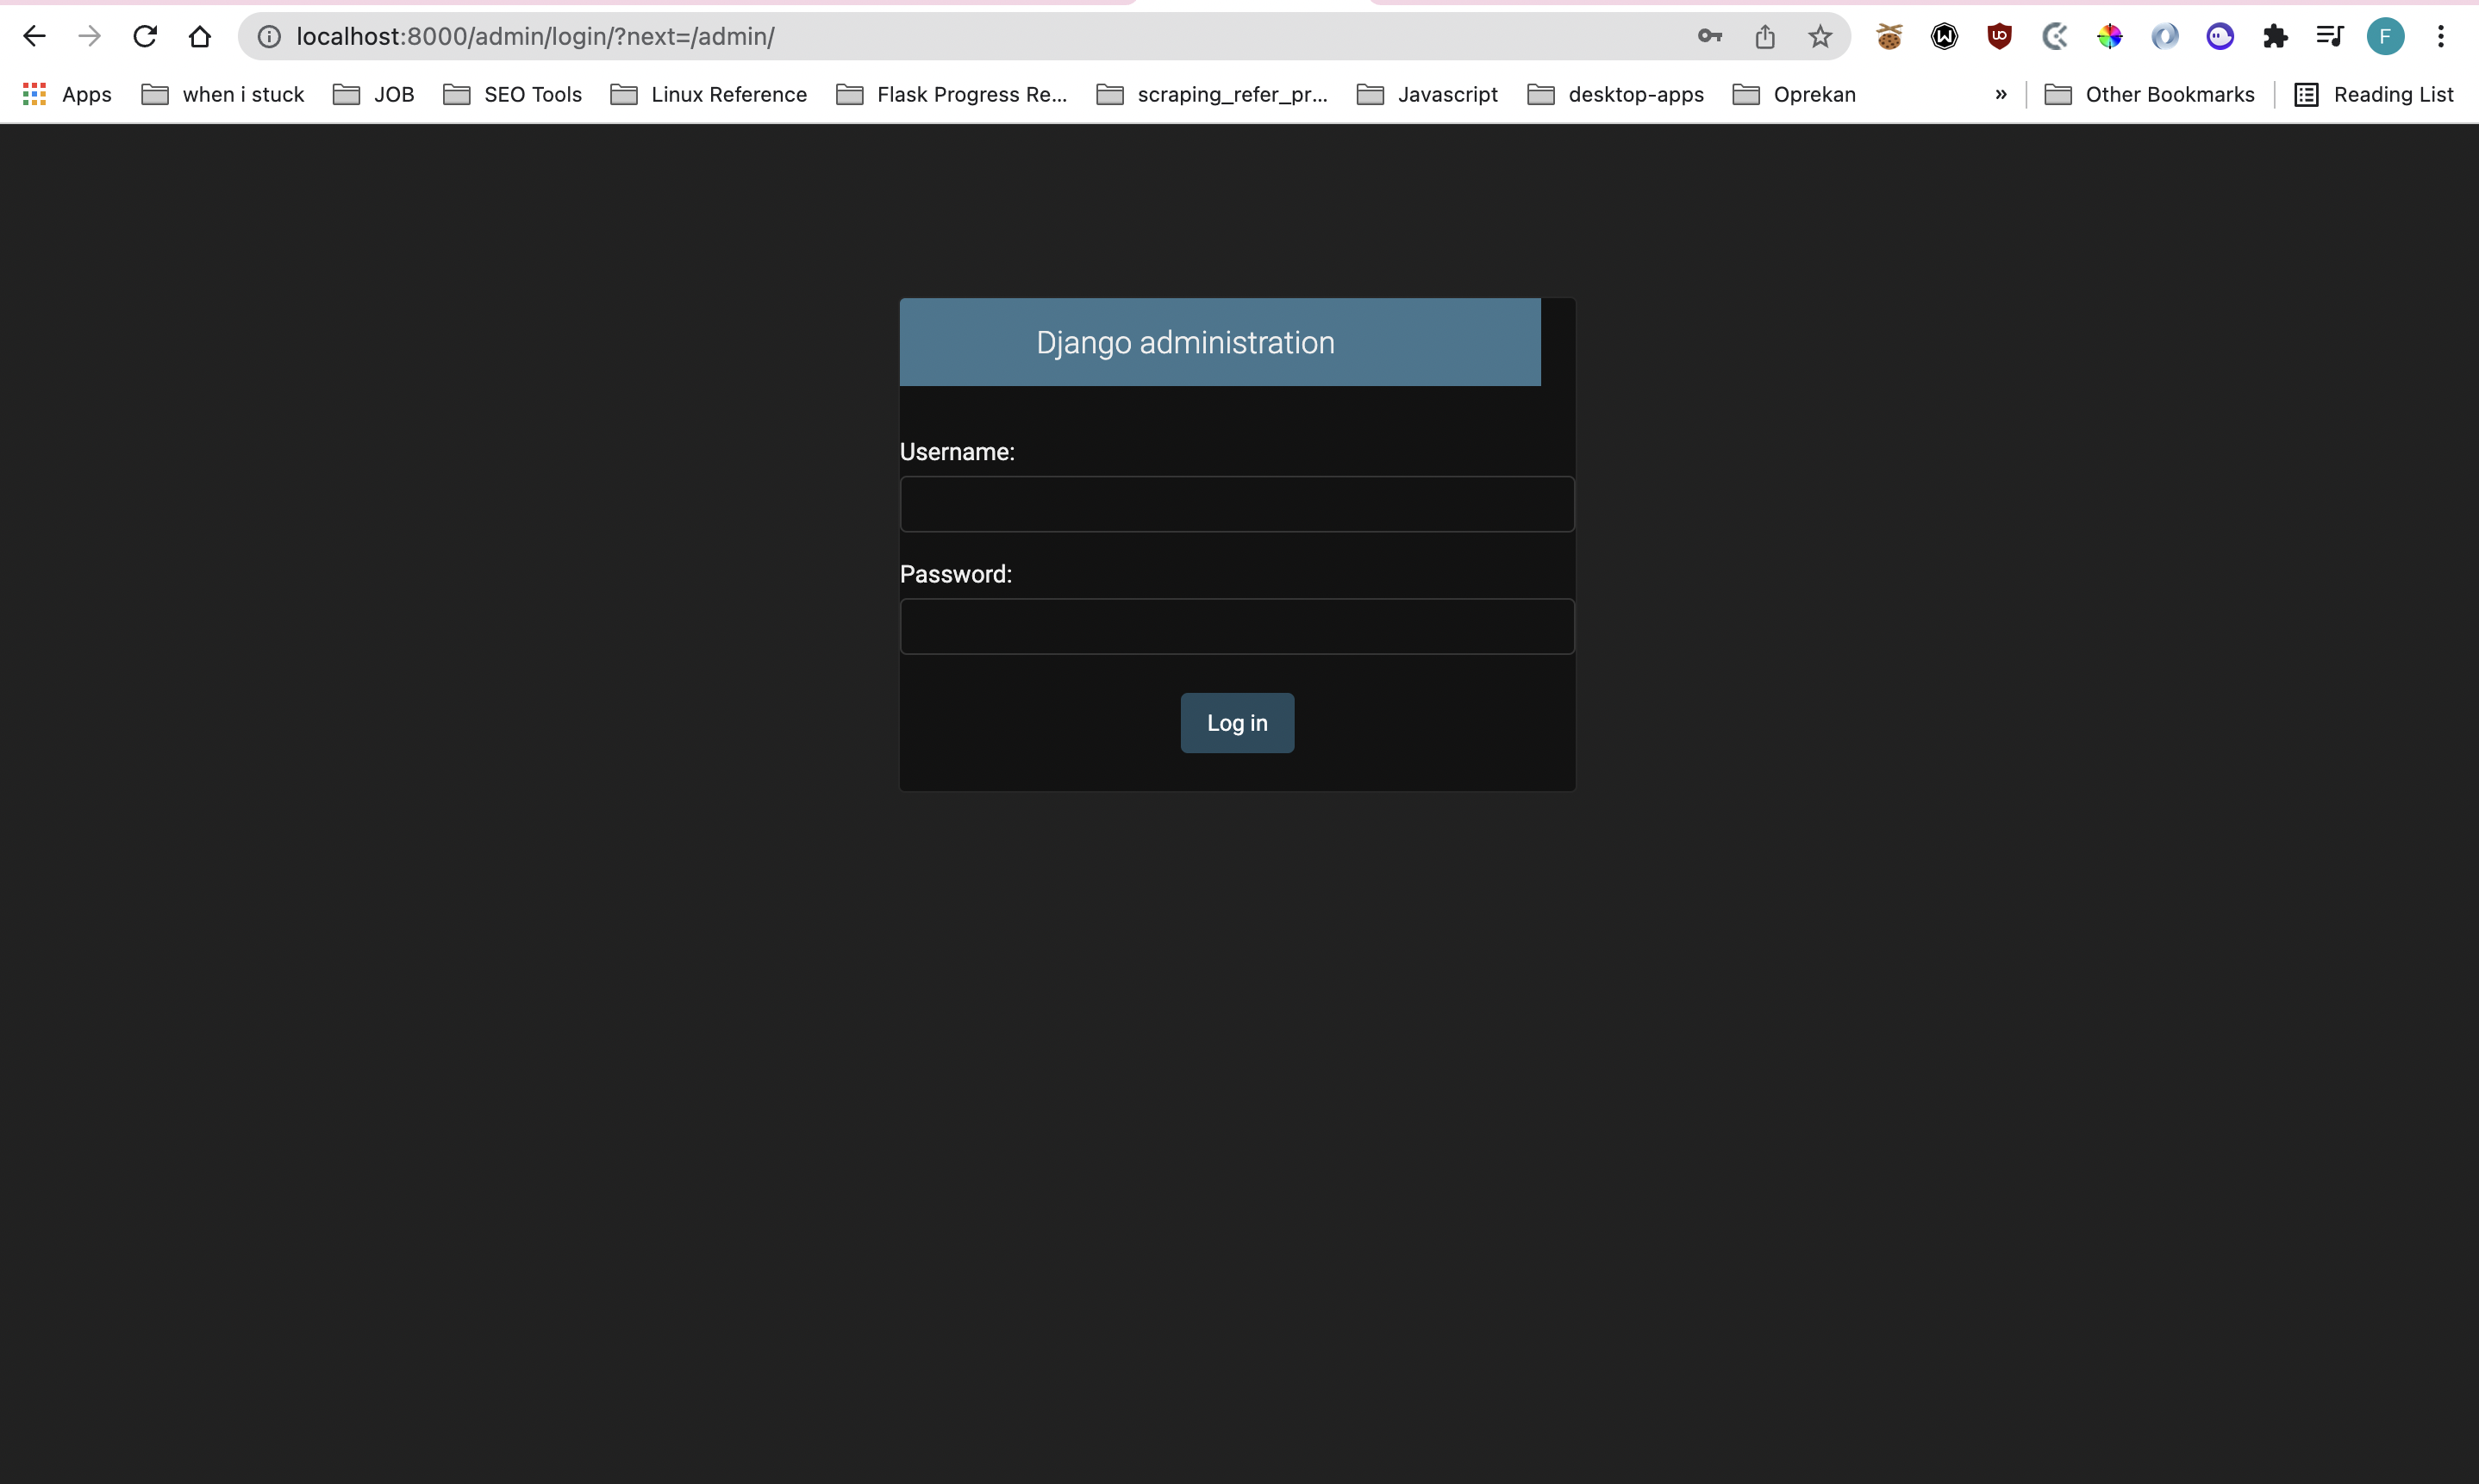
and you can acess the admin now
in this address: http://localhost:8000/admin/login/?next=/admin/
Creating Superuser
to access admin we need login access to access it so create superuser to continue on admin panel
python manage.py createsuperuser --email=dev@django.id
and fill the form bellow
Username (leave blank to use 'feri'): dev
Password:
Password (again):
The password is too similar to the username.
This password is too short. It must contain at least 8 characters.
Bypass password validation and create user anyway? [y/N]: y
Superuser created successfully.

Conclusion
that’s how to create a django project, in the next part we will explore about urls and views in django